This is the story of me saving a mirror. Albeit, I saved the damn thing from myself and the terrible things I was doing to it in an effort to make it less ugly. So, let’s rewind to the beginning when I found a mirror with a jacked-up surface (scratches and old paint) but with a great hexagon frame so for only $7 this guy and I became fast friends.

Yes, the mirror came to my home where it sat around and did nothing except take up space like an unwanted house guest. Each time I went into the room it was stashed in, awkward small talk occurred and I just kept wondering when this mirror was going to get off my floor and go find a job. Upon remembering that inanimate objects do not often obtain their own occupations, I gracefully decided to give the little guy some extra help.
Which went terribly wrong.

My original intentions started off so well. I was inspired by the chalkboard pegboard in our garage where, during my husband’s 30th Birthday BBQ, several friends wrote and doodled on the board. For months, the drawings stayed and gave me a happy memory to smile at each time I went into the garage. Hoping to create a more accessible surface to mark up during parties, I had the idea of adding a framed chalkboard to our guest bathroom. I had imagined a beautiful deep purple frame with an oil rubbed bronze accent against the black of the chalkboard paint. In my mind, it looked amazing.

My plan seemed easy enough. Paint the frame a better color, put chalkboard paint on the glass, hang in bathroom, and allow for fun i.e. inappropriate drawings to occur. The frame surface was sanded, primer was added, and then this happened.

Did I not sand enough? Not enough primer? Just a terrible color in the first place? The answer to all these questions was yes. Upon this devastating defeat, the mirror was shoved into a corner to be forgotten about temporarily until one magical word came to mind.
Rope.
If I couldn’t paint the mirror frame (or simply couldn’t bring myself to attempt to paint the frame again because a second defeat would send me down a craft shame spiral), I would find a way to cover it up. I had originally come across the rope idea on Pinterest, of course. Although, the inspiration picture and the my final result ended up quite different.
My original plan with this pin was to make what the pin showed. My bathroom has an octopus/nautical theme so the idea of rope storage accessories seemed like a smart move. Nautical means ships and ships have rope on them. Makes perfect sense. Plus, everything in a bathroom is usually so sleek and smooth so adding the rough, natural texture of the rope seemed like a great way to add a layer to the room.
My original plan with this pin was to make what the pin showed. My bathroom has an octopus/nautical theme so the idea of rope storage accessories seemed like a smart move. Nautical means ships and ships have rope on them. Makes perfect sense. Plus, everything in a bathroom is usually so sleek and smooth so adding the rough, natural texture of the rope seemed like a great way to add a layer to the room.

After the original chalkboard mirror plan went kaput, I took a few moments to curse my frustrations away and then remembered the above pin. Realizing that rope solved the problem of my crap paint job amazingly well by simply covering it up made me do a little jig that may or may not have looked glaringly similar to Elaine's "little kicks" dancing. This also lined up beautifully with Young House Love's quarterly Pinterest Challenge where this adorable couple encourages everyone to stop pinning and actually create something. A very common ailment of Pinterest is all pins and no action so I was only too happy to join in this challenge!
On round two with the mirror, I started with the chalkboard section of the project first. To prep the glass, I roughed up the surface with coarse sandpaper; sprayed it with two layers of primer, and finally painted on two coats of chalkboard paint.
BAM! Done.

I didn’t worry too much about getting the chalkboard paint on the frame because, as mentioned previously, the name of game is cover-up. So, using a glue gun and a $5 ball of rope, I slowly worked my way around the frame placing blobs of glue every couple inches while wrapping the rope around the frame. A few minutes in and my little friend started looking something like this. Or exactly like this. Because that’s how pictures work.

About halfway through this project, just as I was getting into my glue gun groove, I ran out of glue sticks....
Such a crafting tragedy. A tragedy that was quickly remedied two days later when I procured more glue sticks. One burned finger later and I end up with this.

Unluckily, this mirror had no hanging apparatus when I purchased it so I can only assume it stayed on someone else’s wall through magic. Seeing as how I never received my letter to Hogwart’s, I was forced to purchase these picture hangers and nail them to the back of the mirror.

Attaching these things is super easy. Just figure out the placement and hammer the tiny nails (included in package) into the frame. The only real hazard is if you have large fingers, you're going to smash them with the hammer. Can't be avoided. Sorry.

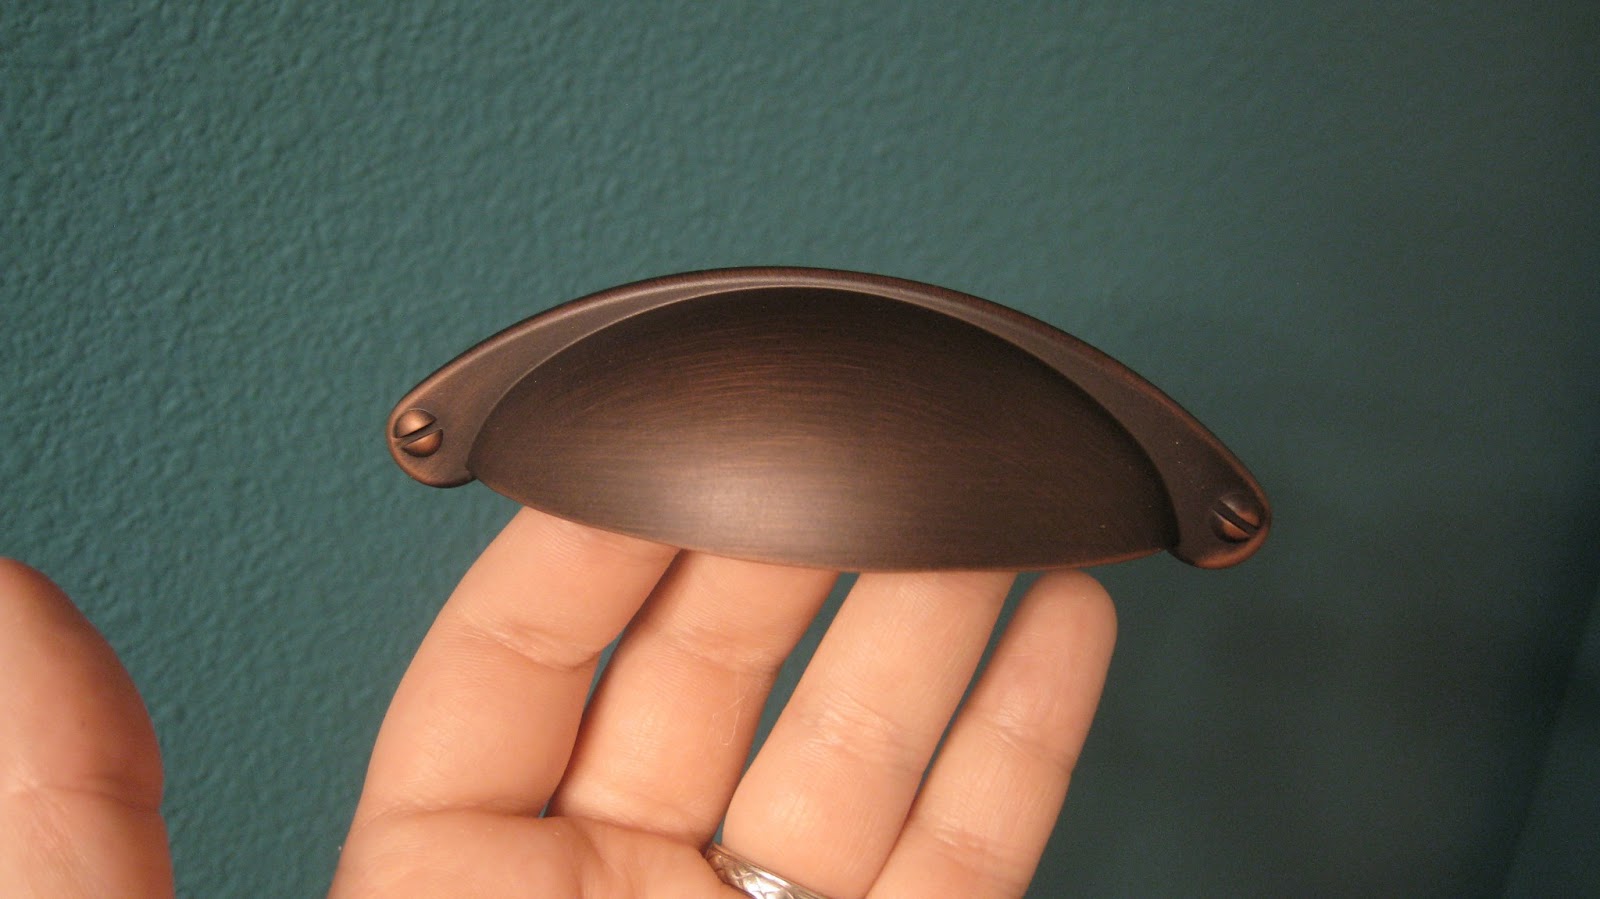
Only one small snag occurred when I got these home and realized that, yea, they're drawer pulls so obviously the hardware for them would go through the drawer and I had no way of attaching these to a wall.
One brilliant MacGyver thought later (hammer nails into the wall, add a dollop of glue, and slip the drawer pull onto the nails) and my chalk storage was ready to go!

Here is the before picture of my bathroom. I apologize in advance for these shots. This bathroom gets ZERO natural light and is narrow like most bathrooms so snapping a decent picture proved irritatingly prickly. I digress, this is what the bathroom looked like before hanging the chalkboard mirror.

Here's is what it looked like after the fabulous addition of the chalkboard mirror.

Here's a not mirror reflection shot. I love how the frame fills up the normally untouched blank space behind the door.

Close up of drawer pulls/chalkboard hangers.


I cannot wait until our next party! I envision taking pictures of the chalkboard at the end of every shindig and making a coffee table book so when we’re old and wrinkly and gross, the husband and I can look back and remember that at one point in our lives, we threw some kick-ass parties.
**Update**
The husband texted this photo to me this morning so he's obviously already enjoying the new addition.

**Update**
The husband texted this photo to me this morning so he's obviously already enjoying the new addition.

That's so cute!
ReplyDeleteNice save! I'm obsessed with twine... very creative to border up a chalkboard with it! Love your bathroom!!
ReplyDelete